1st ever blog post. 
Every now and again I will dive into a project that keeps my skill base up to date with the current technologies and force me to have to learn new and exciting things. Project “Blue Steel” is one such project that is helping me refresh and refine my PC architecture knowledge and construction. I encourage you to join me on my journey to create a powerhouse of a PC that can pretty much do almost anything.
In part one of this build we will complete the case that will house all the components for this super system.
The Case
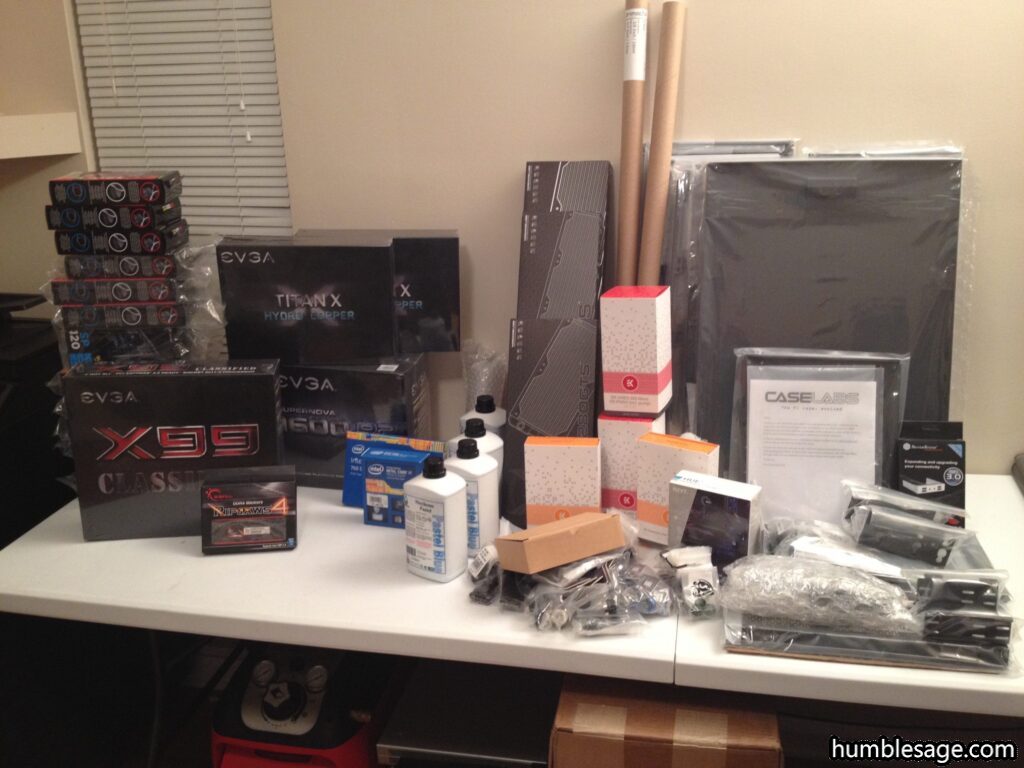
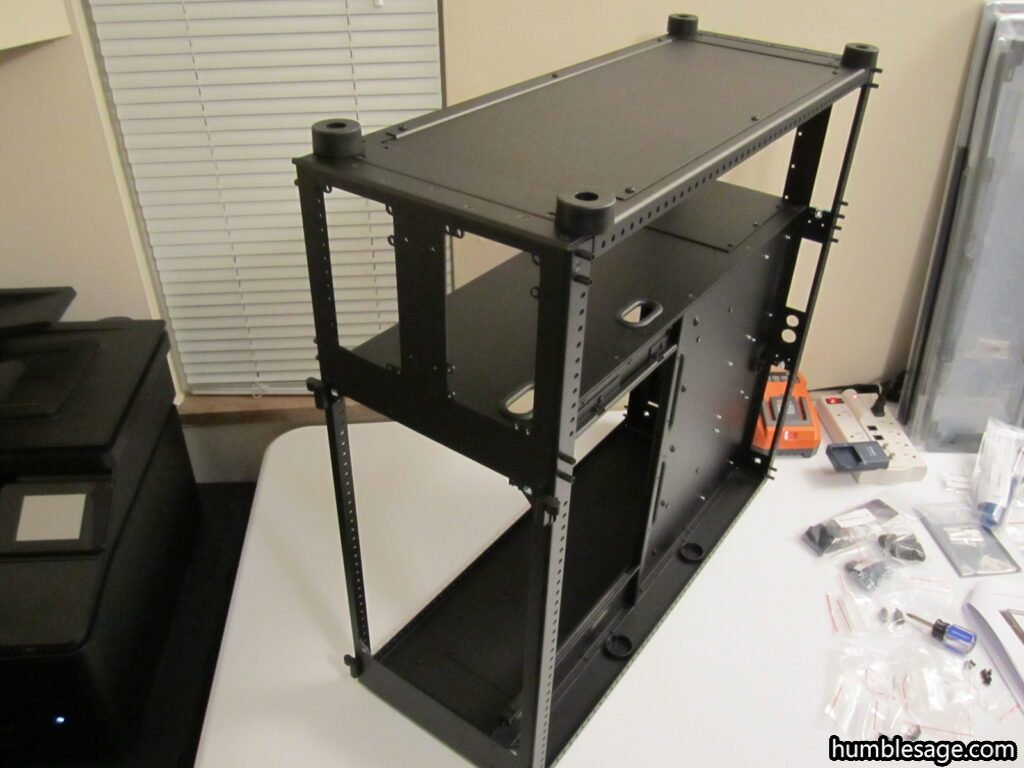
Assembling a CaseLabs Magnum SMA8 is not a really difficult task. You just need to understand some very basic mechanics (lining up metal parts, lining up holes etc..). My case came together rather easily but took me 2.5 hours. Surely I could have finished it in 45 minutes but honestly I wanted to take my time. The quality of this case is exceptional even the materials it came packed in I removed with care as they can be reused.
The case is enormous. There is enough room for all kinds of bells and whistles and clearly these cases were designed with airflow and premium workmanship in mind. Here are my photos in order of assembly:
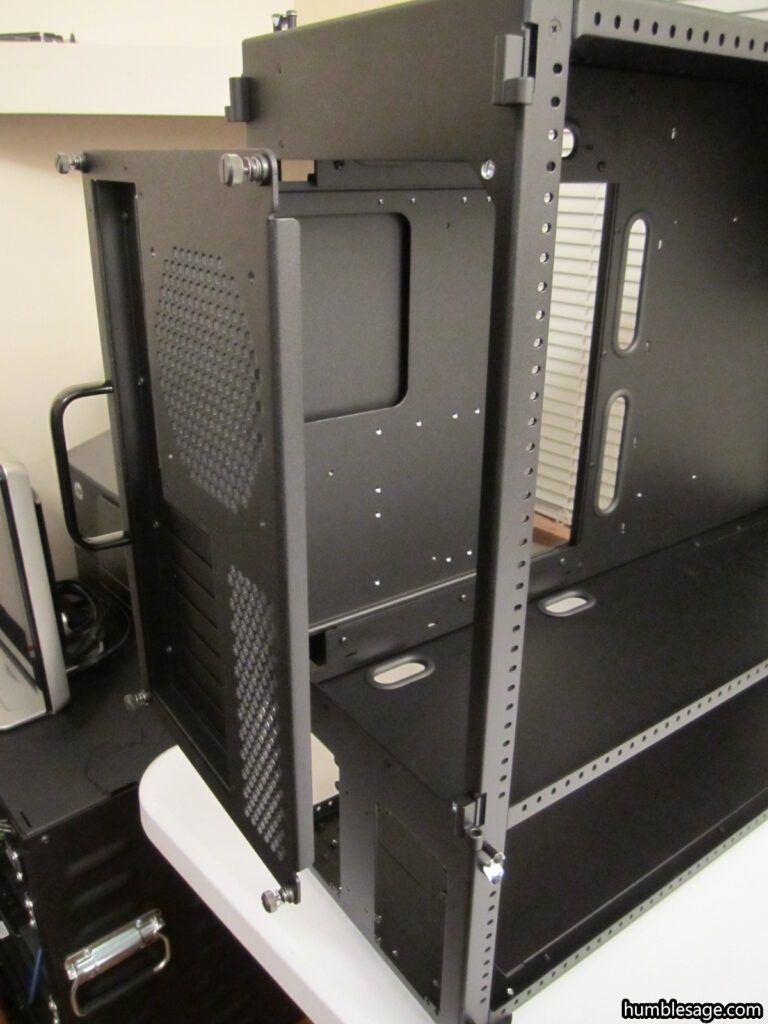
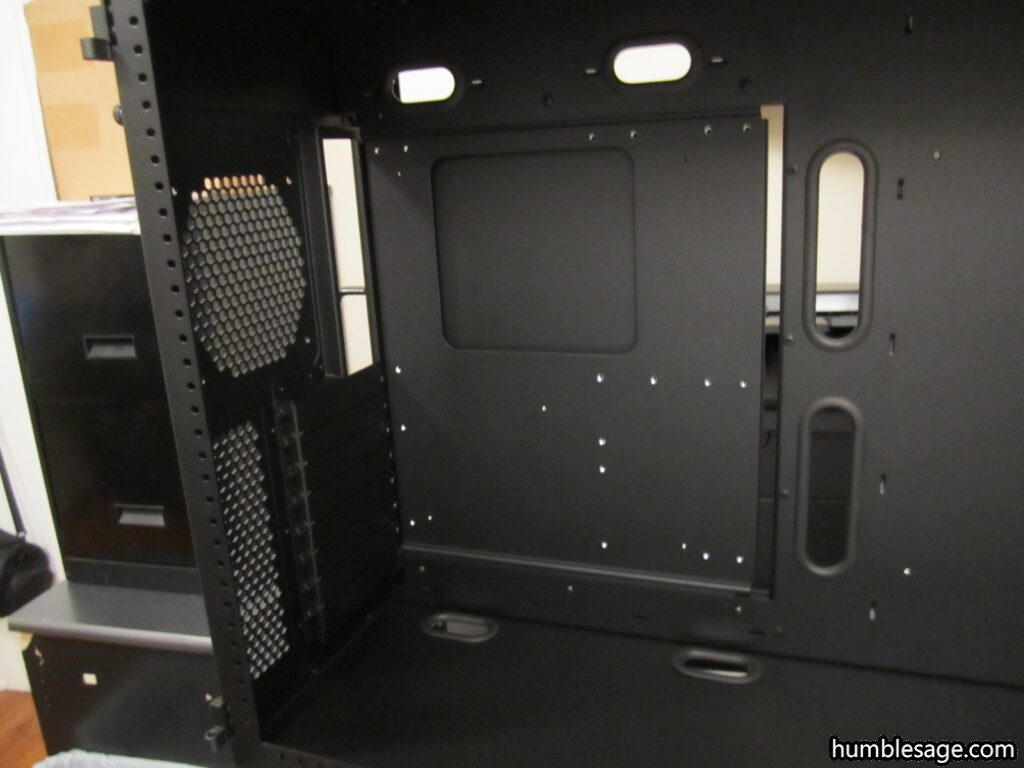
Plates Top and Front with Chassis Divider.
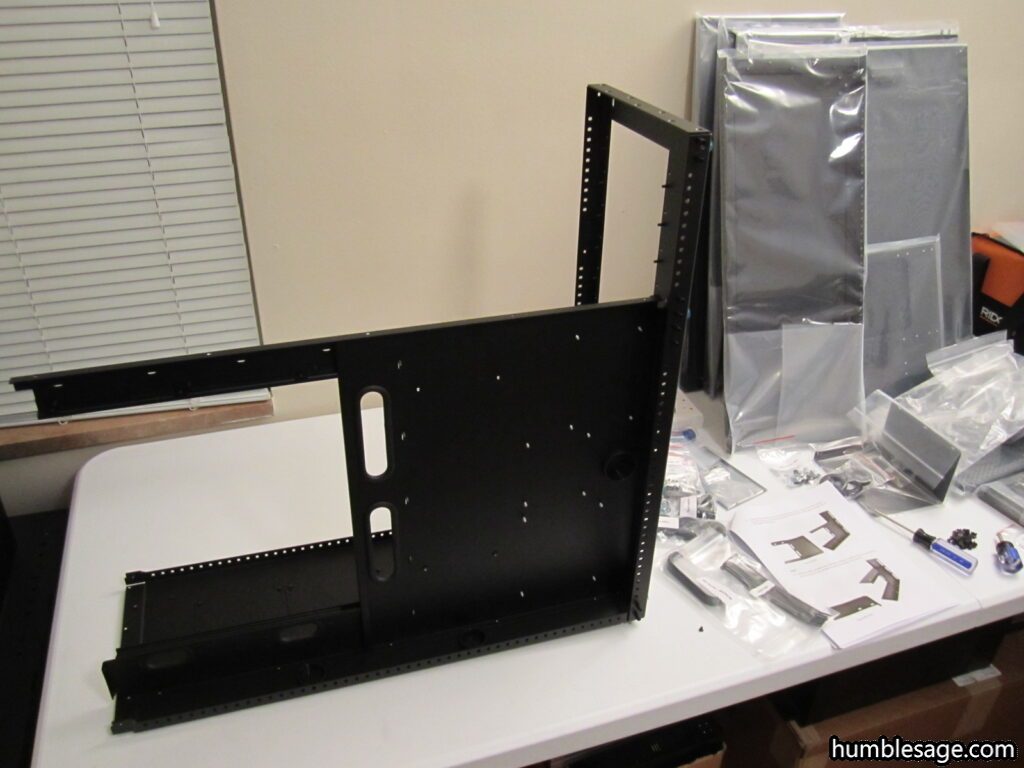
Add on the Chassis Mid-Plate.
And the bottom.
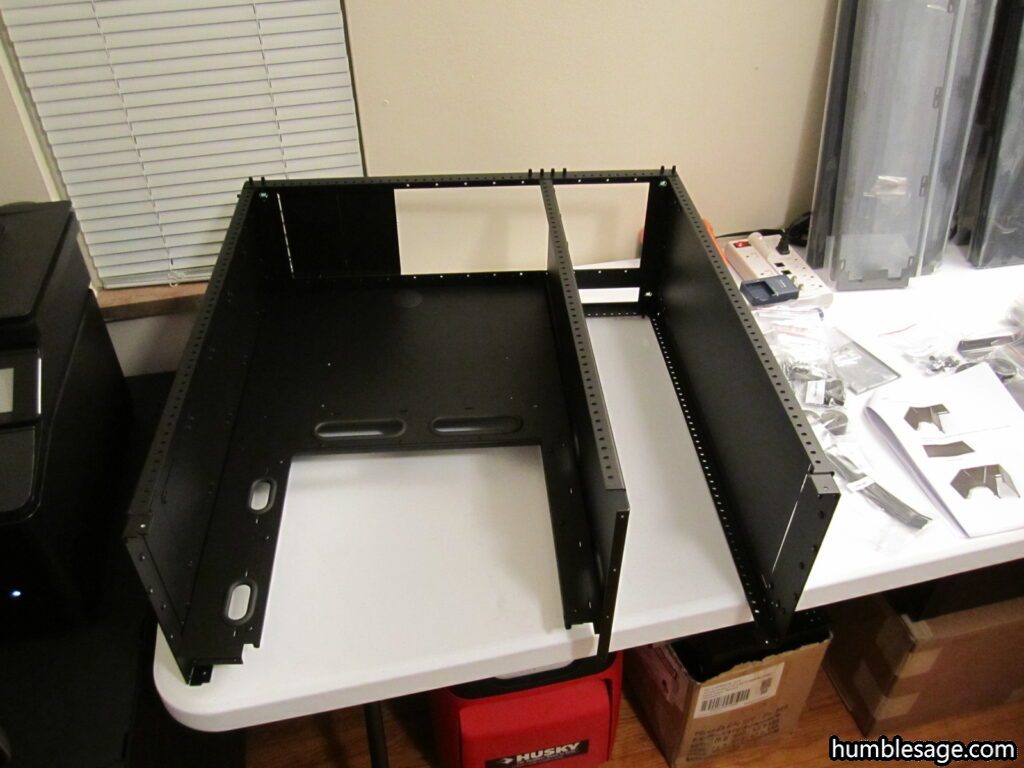
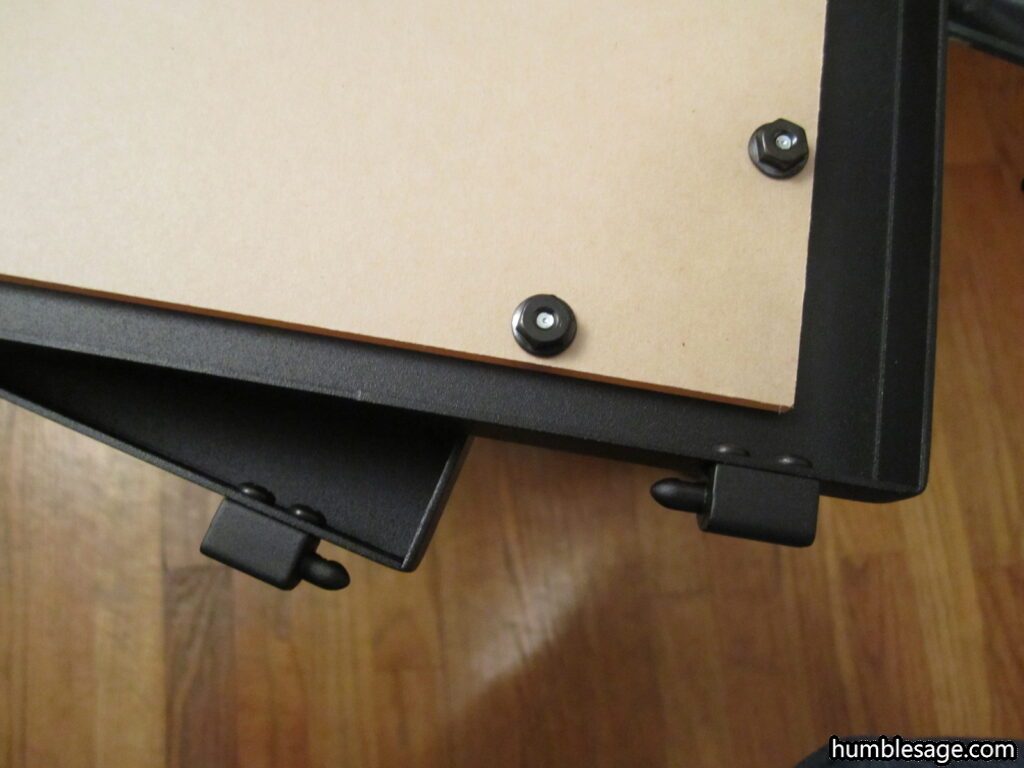
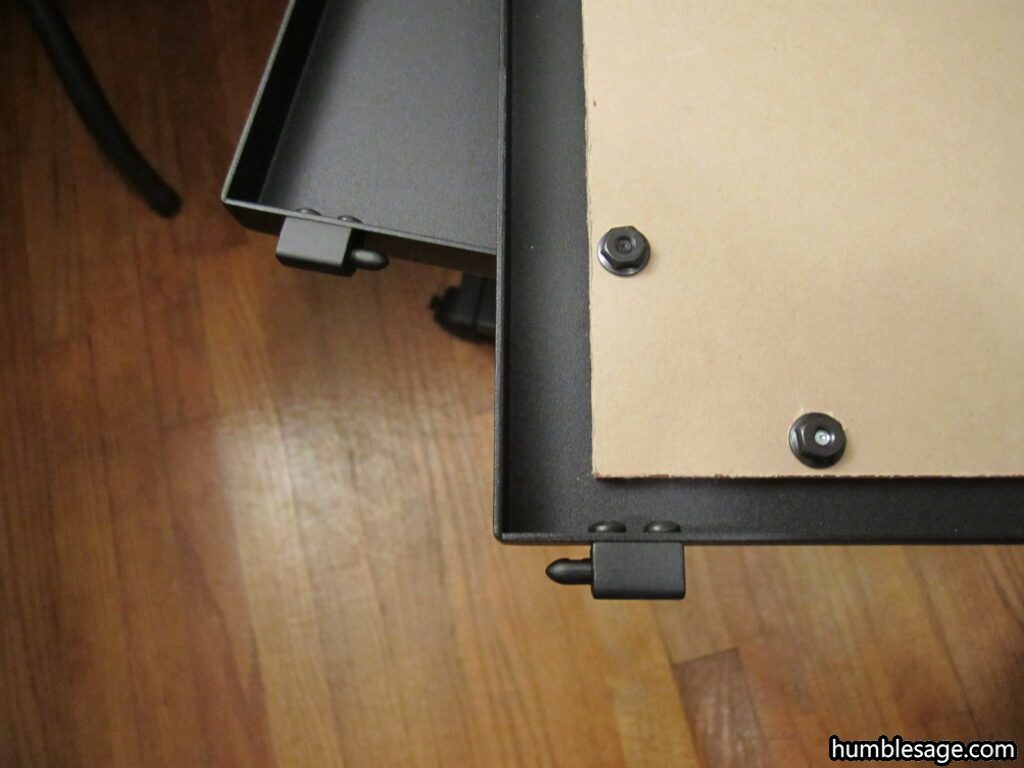
Throw on the feet.
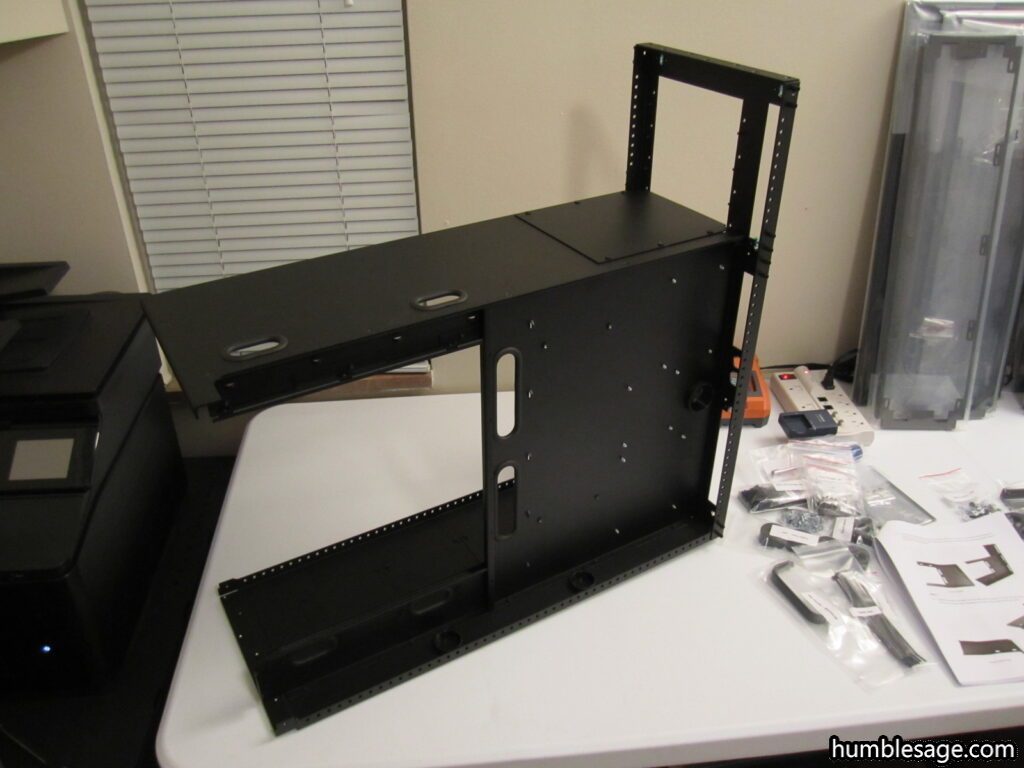
The drive cages.

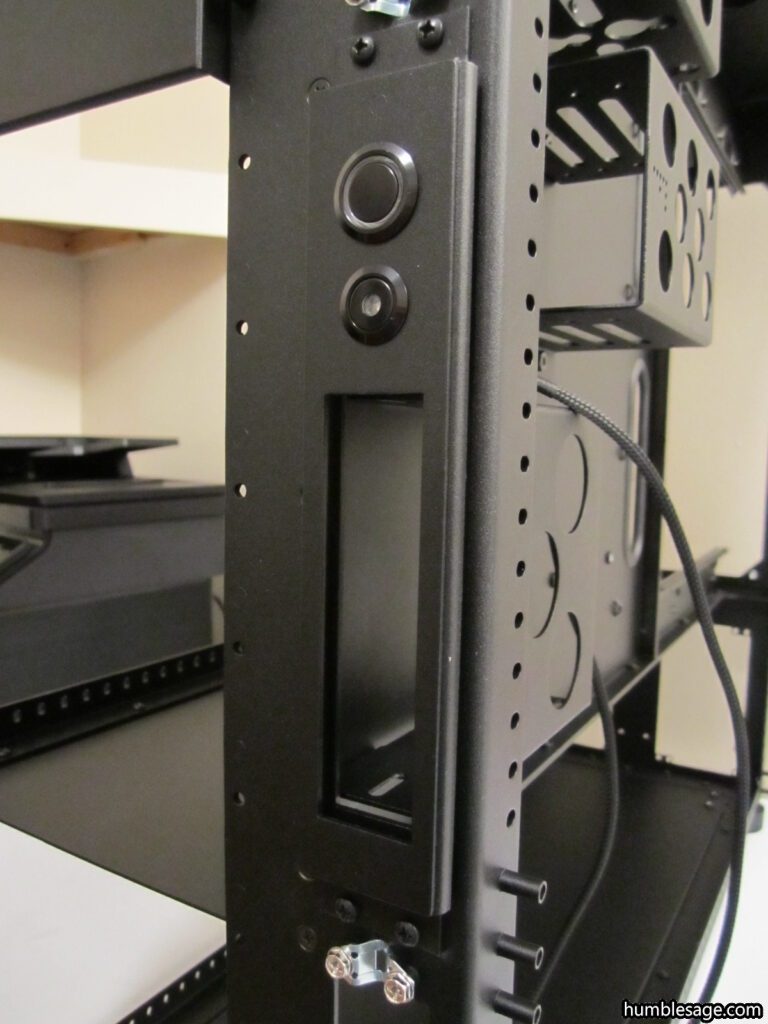
The Switch Assembly.
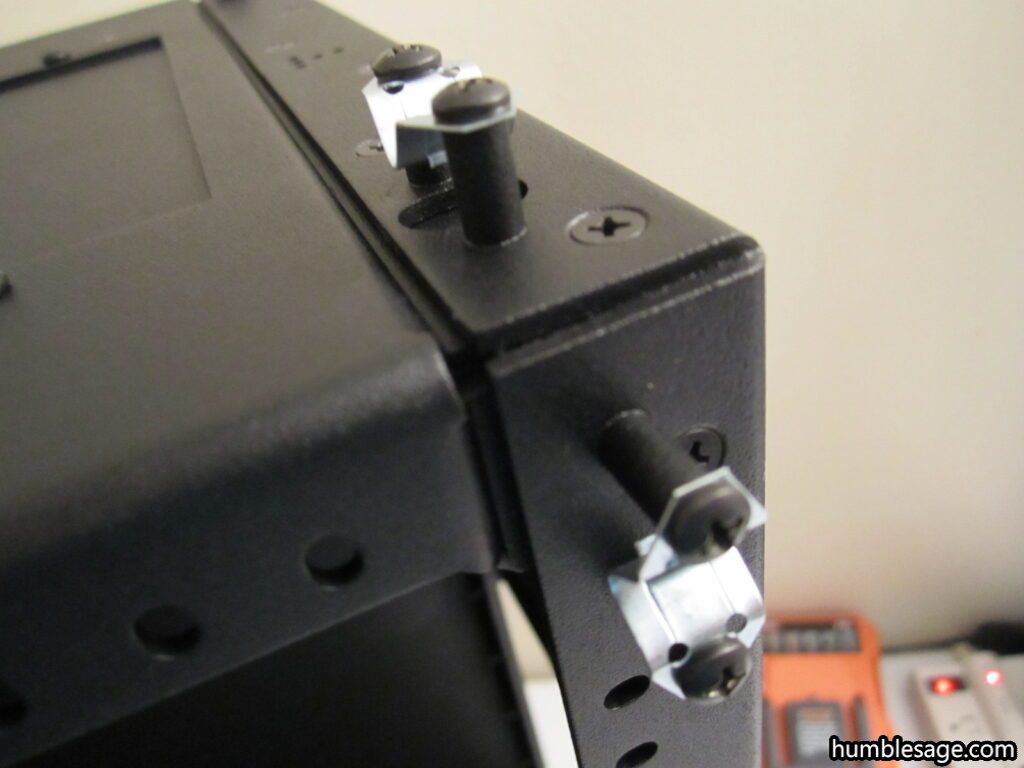
The Standoffs (16 of them).
The Motherboard Tray (had to be assembled as well).
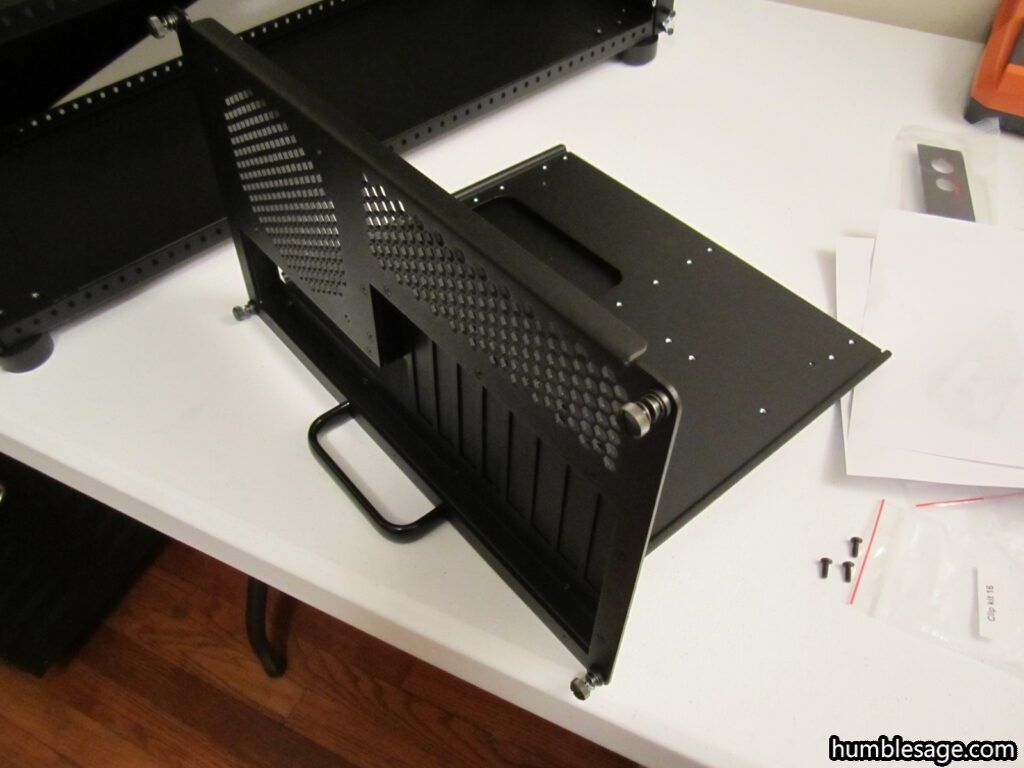
Partially Inserted.
Completely Inserted.
Hinges on the doors.
Doors put on the case.
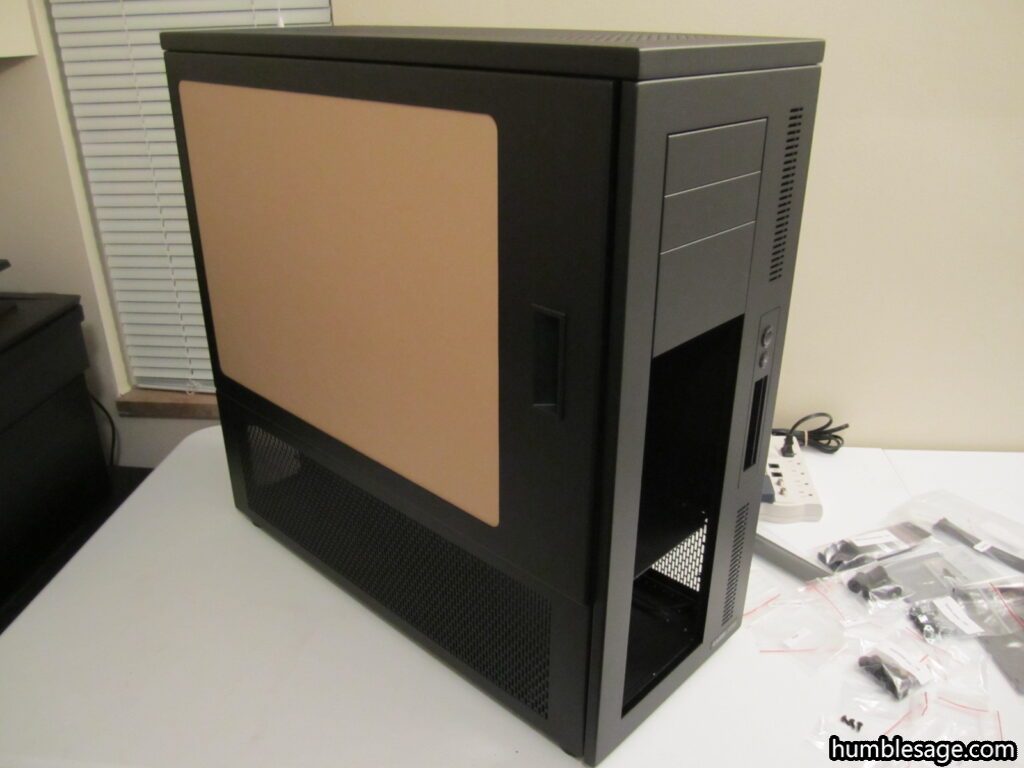
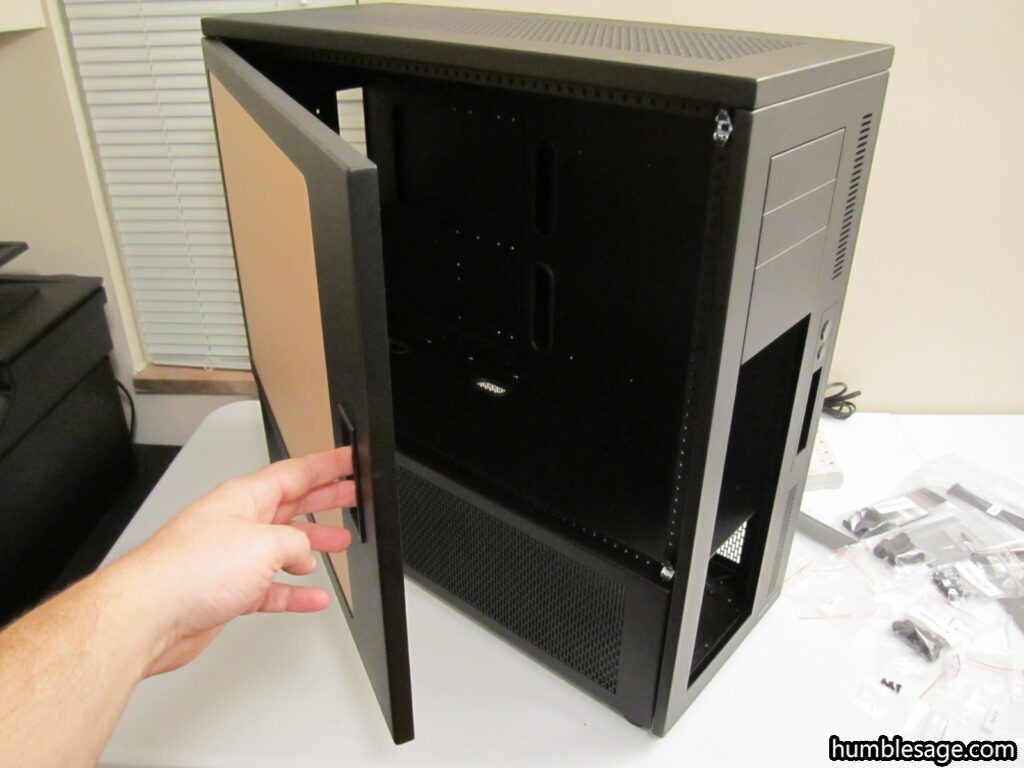
There you go! One completed case. Don’t be fooled by the pictures, there are lots of screws here you put together and if you’re wondering why there is a brown cardboard piece in the one side it’s because I left the protective paper over the X-Large Plexiglas window. I’m keeping it there until the build is complete to preserve it as long as possible and to avoid me from accidentally scratching it.