Project “Blue Steel” continues. Today we accomplish:
- SilverStone Model SST-FP32B-E installation.
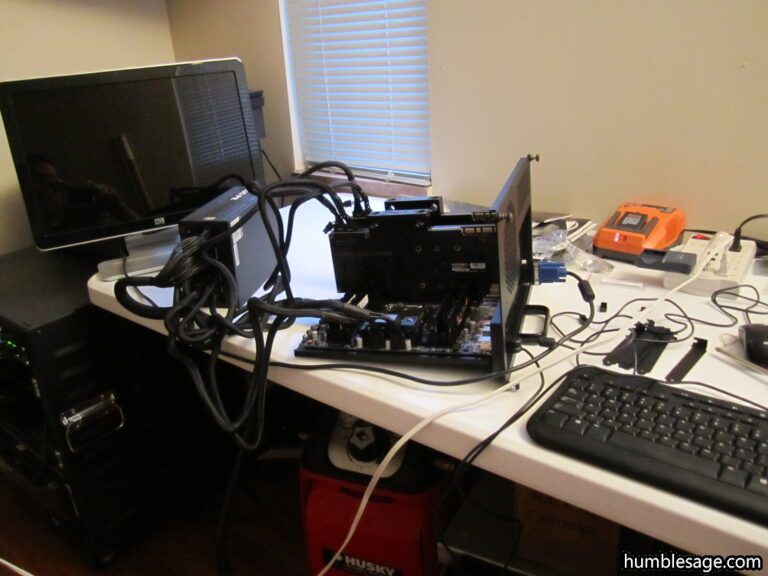
- Motherboard, CPU, Memory, Video cards, PSU, and PCIe SSD setup for Post Test.
- Post Test.
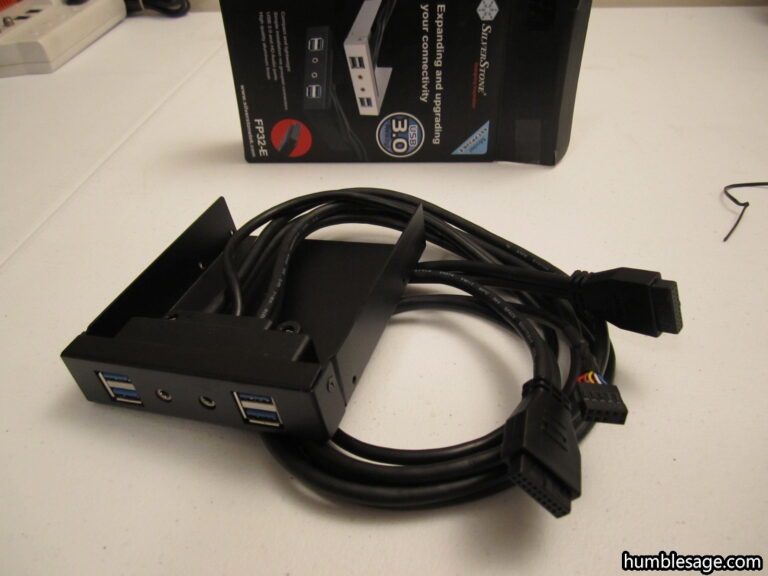
The SilverStone Model SST-FP32B-E

Installation of this was fairly simple. This will give me 4 USB 3.0 ports, 1 HD Audio port, and 1 Mic port out the front of Blue Steel.
Out of the box.
Here’s the drive tray it will go in.
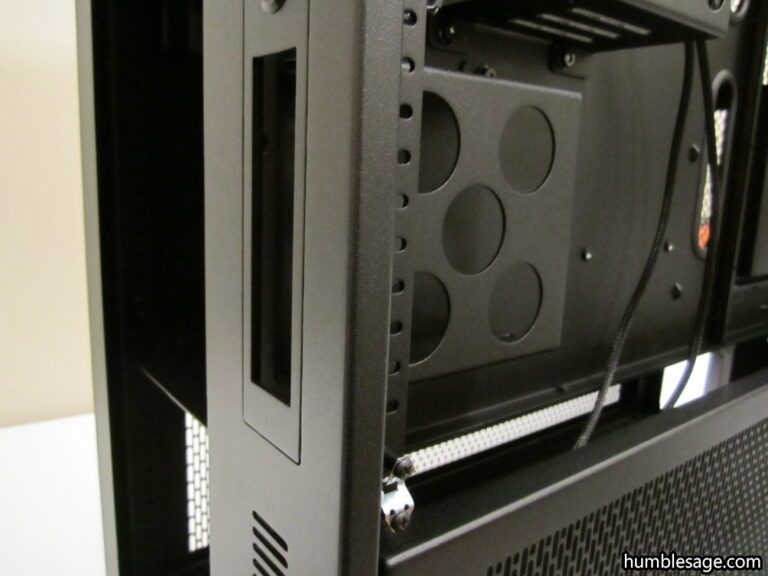
Here I am testing the fit and gauging accordingly. I tighten the screw visible in this picture along the bottom of he drive cage.
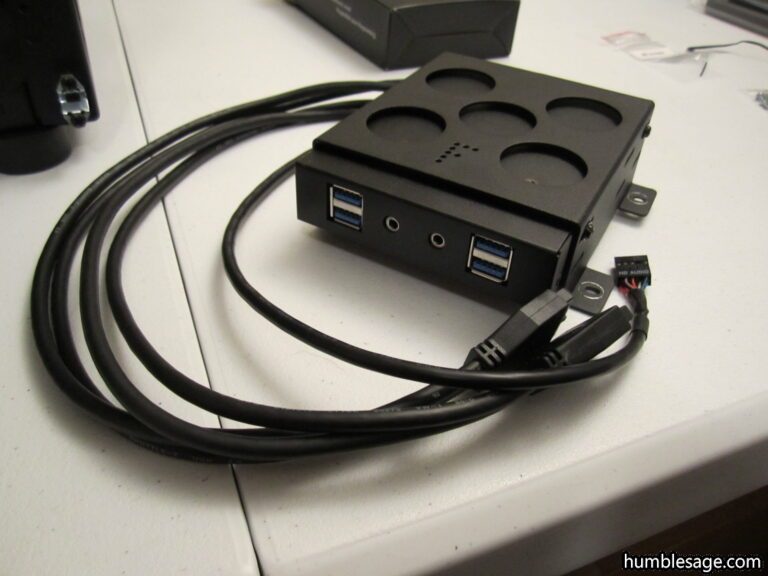
Take it out and tighten the screws all around.
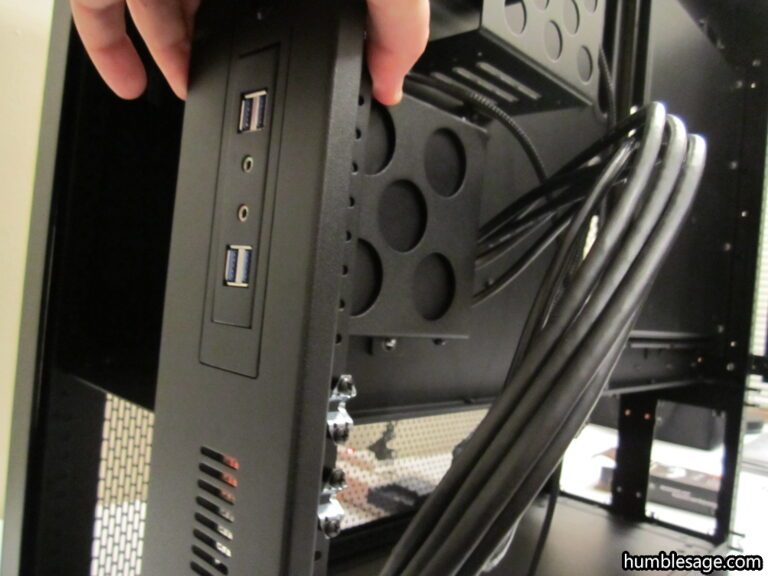
Mount into place and we’re done.
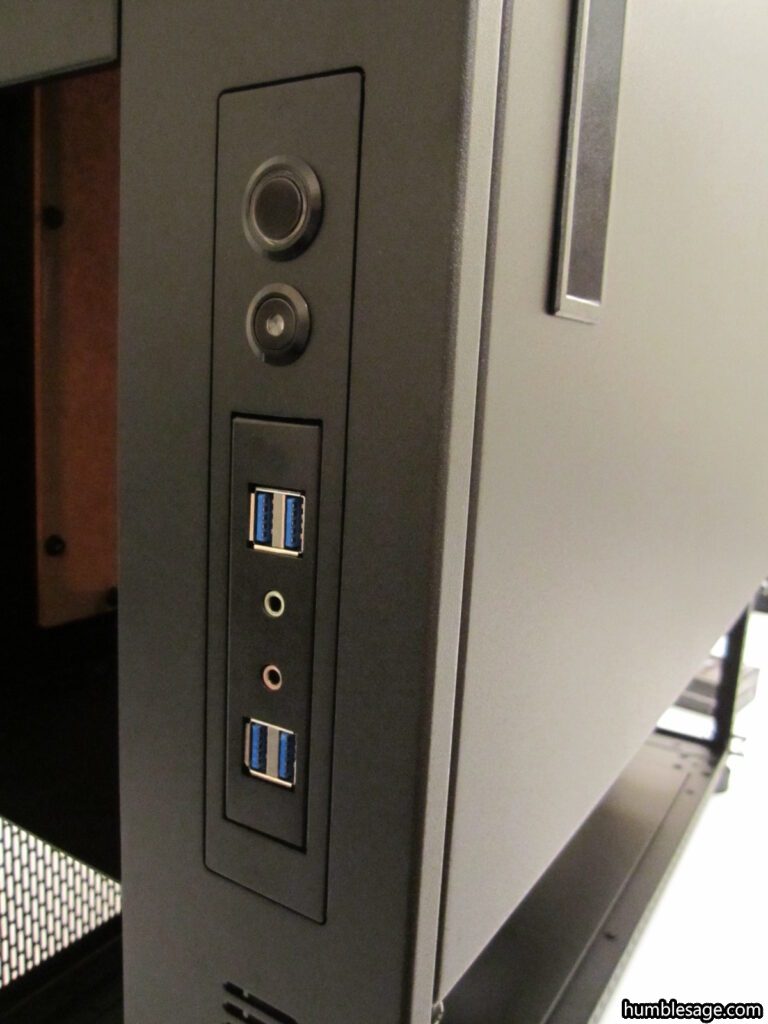
As you can see we have a nice flush fit. 
Let’s unbox and get down to business on these bad girls!
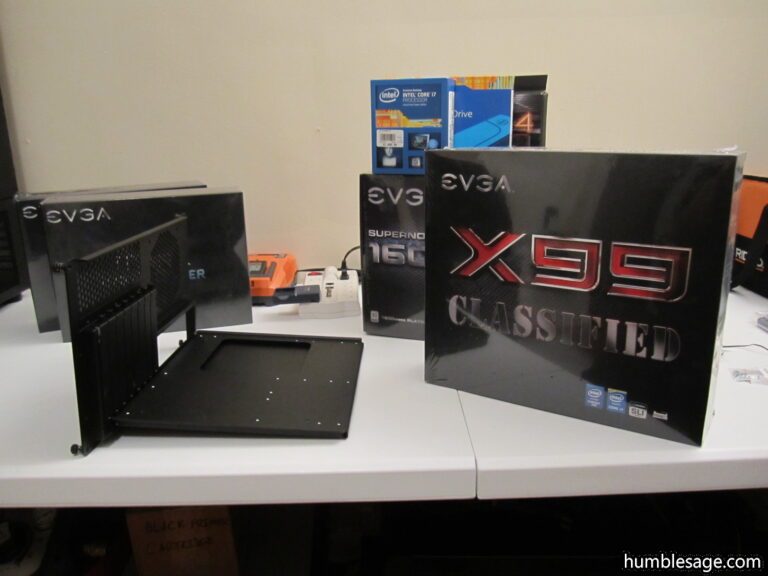
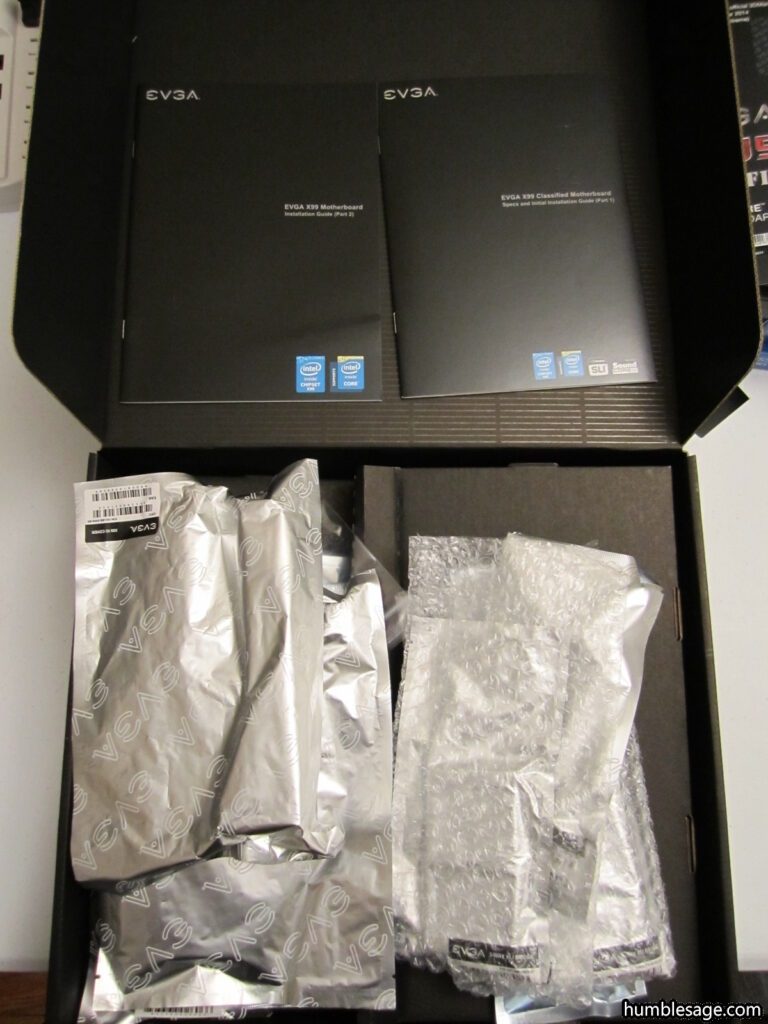
First the EVGA Classified x99 Motherboard
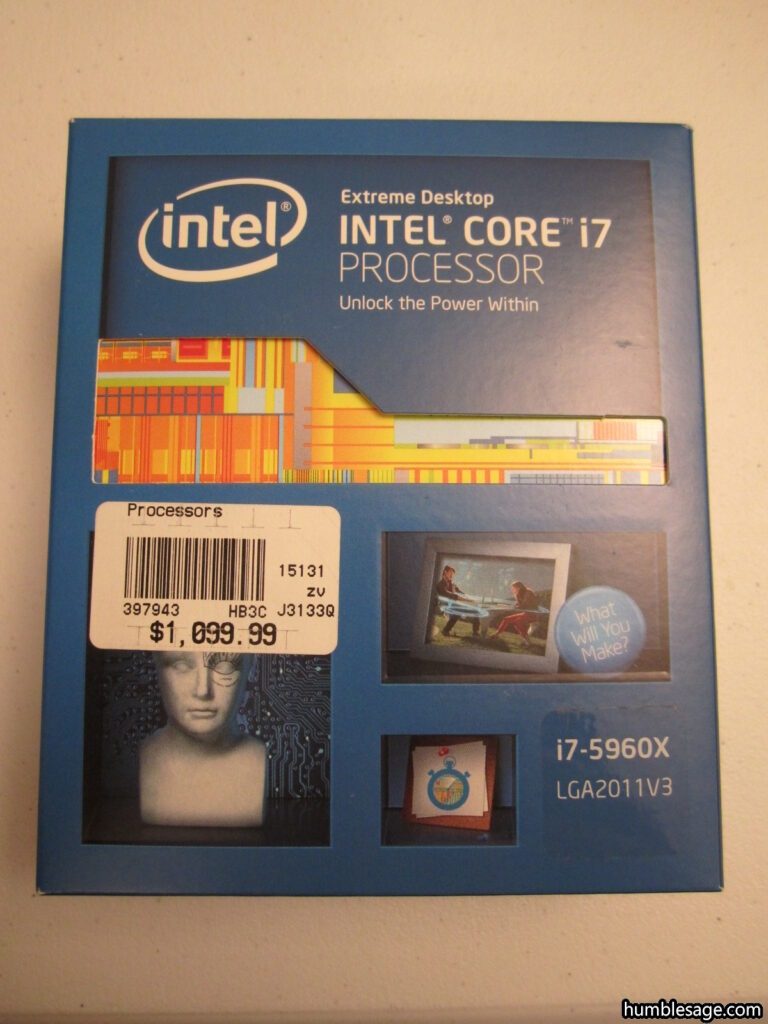
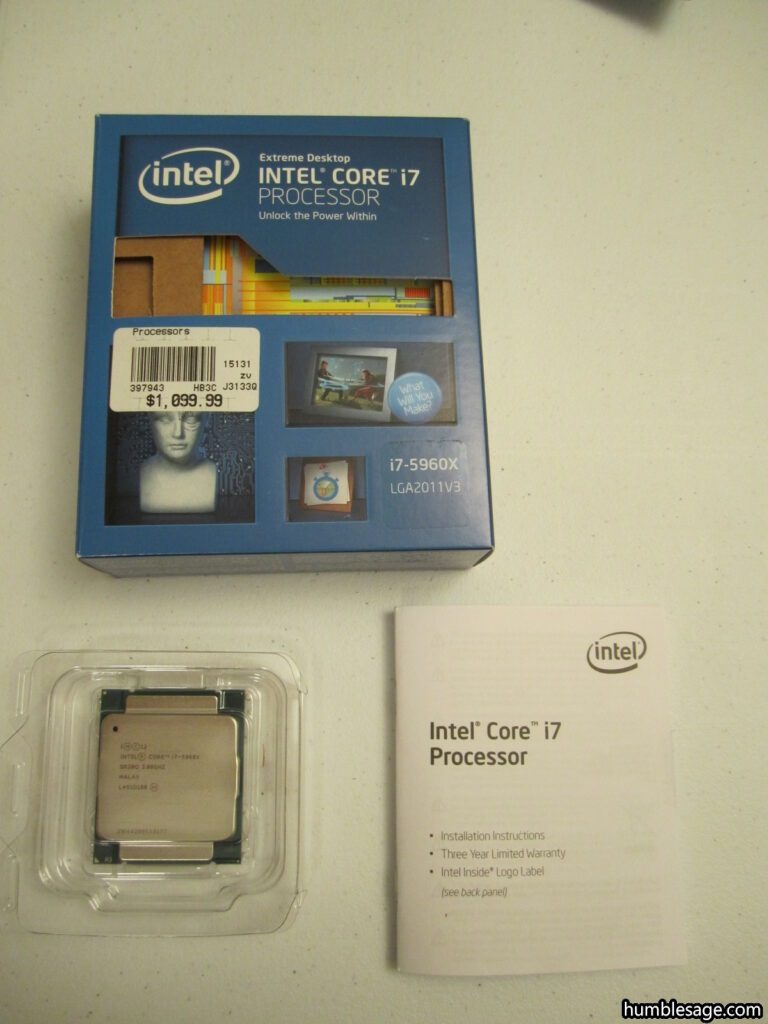
Now the CPU, Intel’s i7-5960X LGA2011-3
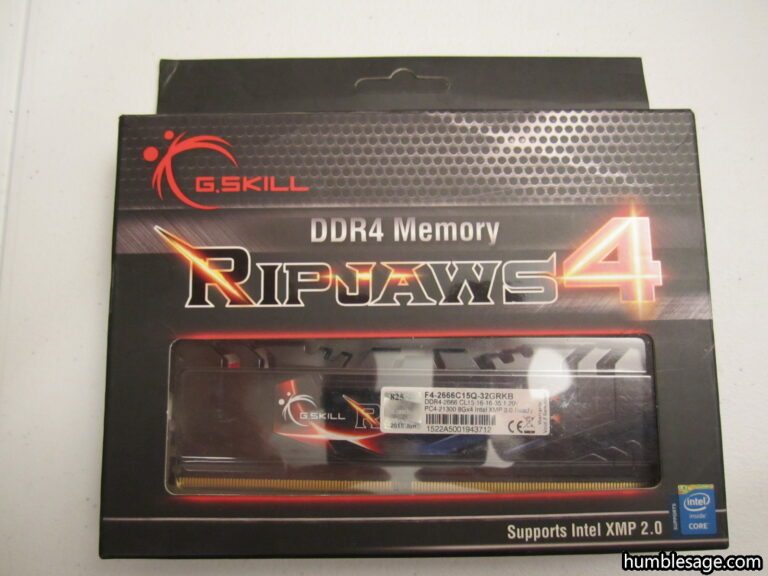
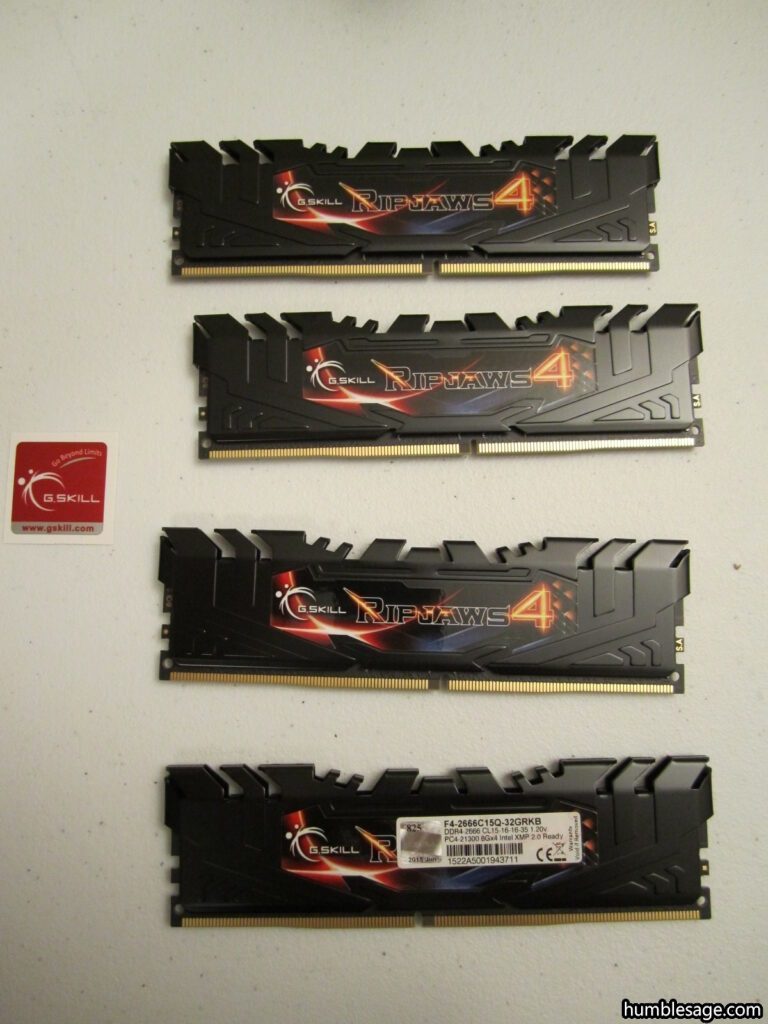
How about 32GB of Ripjaws memory…
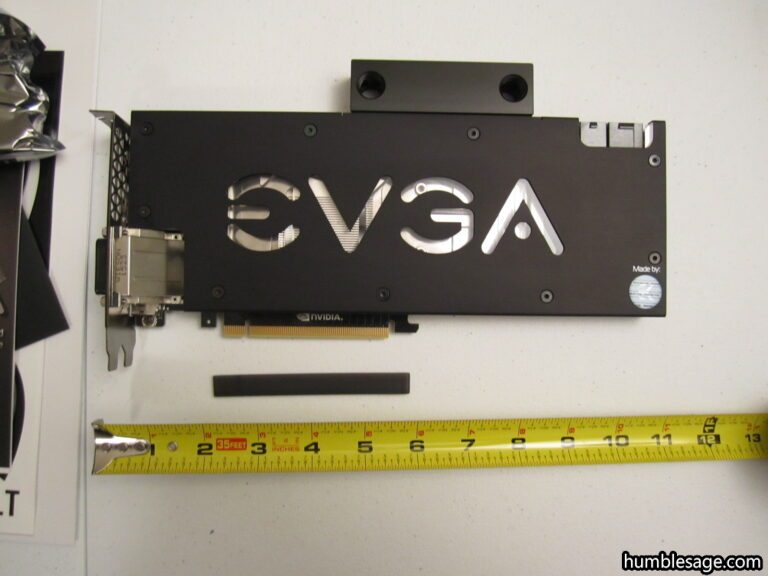
Two (2) EVGA Titan X Hydro Copper Cards.
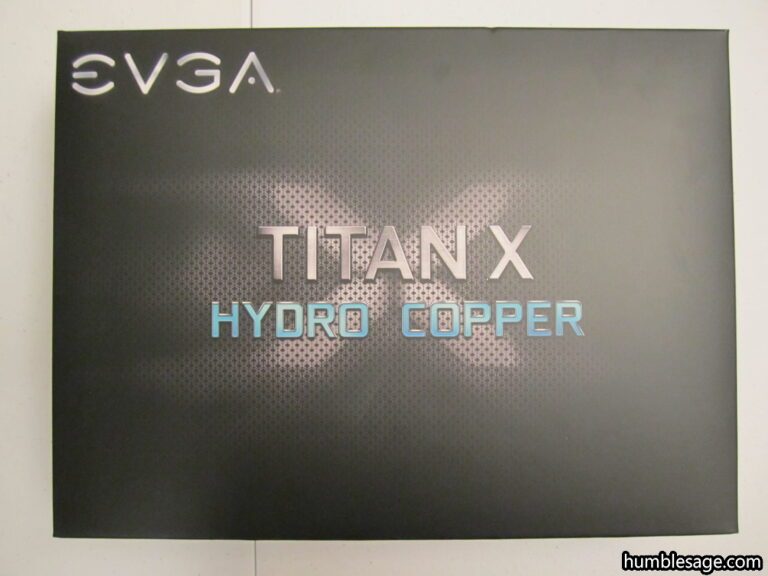
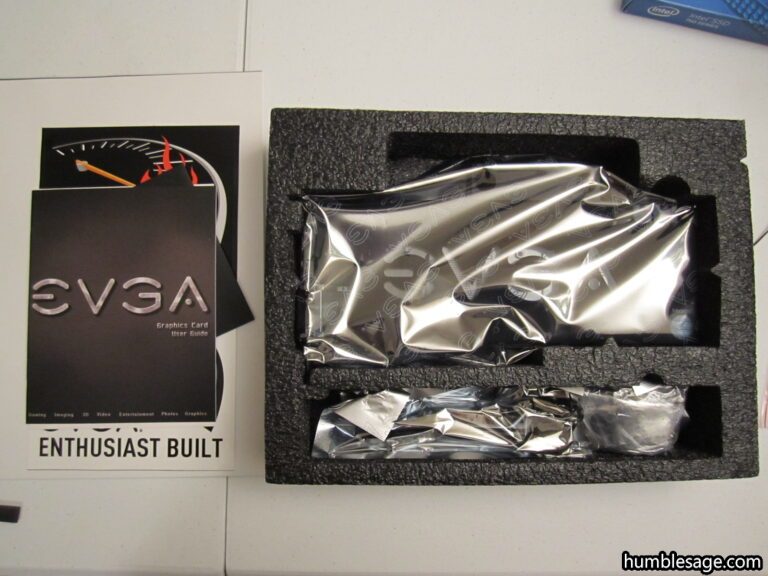
These babies are pretty long and heavy.
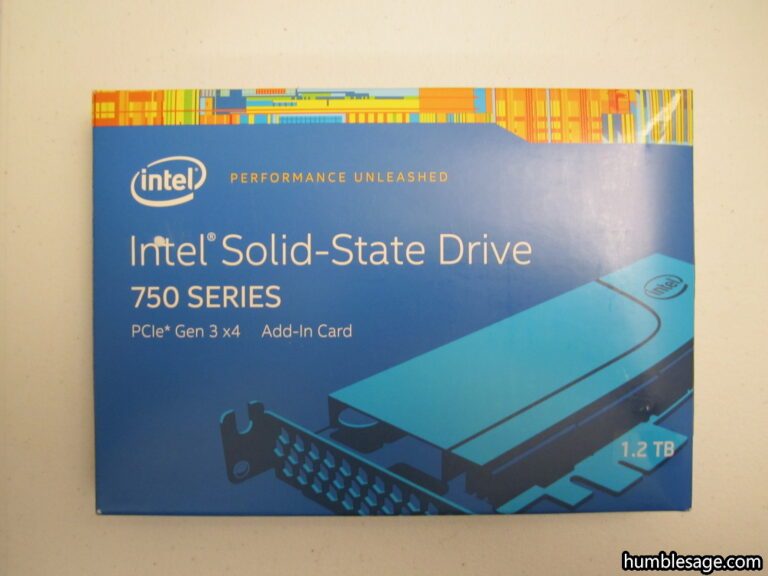
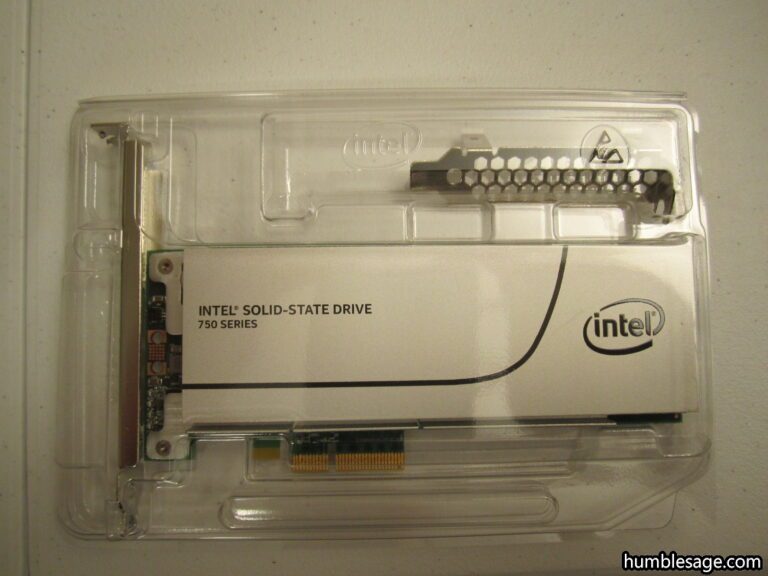
One (1) Intel 750 Series 1.2TB PCIe SSD drive.
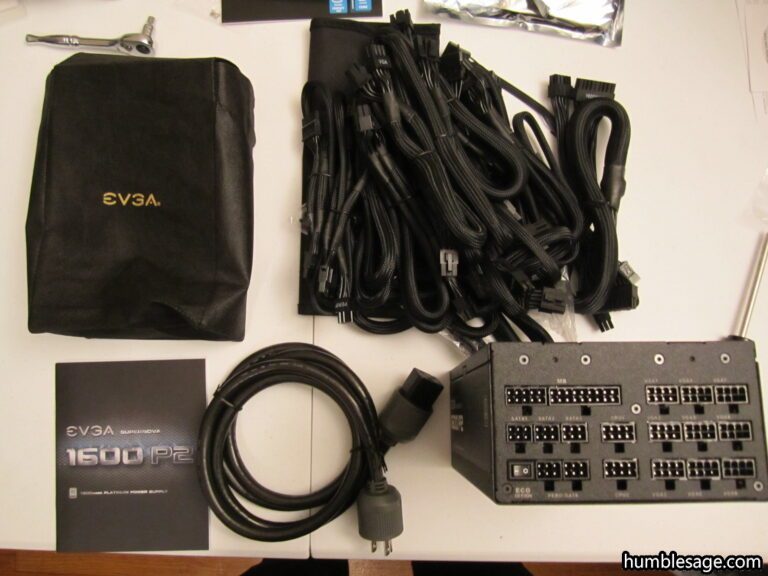
Lastly, a monster EVGA Supernova 1600 P2 PSU.
Installation of the components was fairly easy and fun to install. There’s nothing like fresh, rigid, new stuff. It’s like having brand-new car smell. The steps were as follows:
- Motherboard attached to the tray.
- CPU mounted to the motherboard.
- Memory mounted to the motherboard.
- PCIe SSD mounted to the last slot (number 8).
- Graphics cards mounted in slots 1 and 4. This allows for x16 on both.
All set for post test.
I can’t express enough how important the following is:
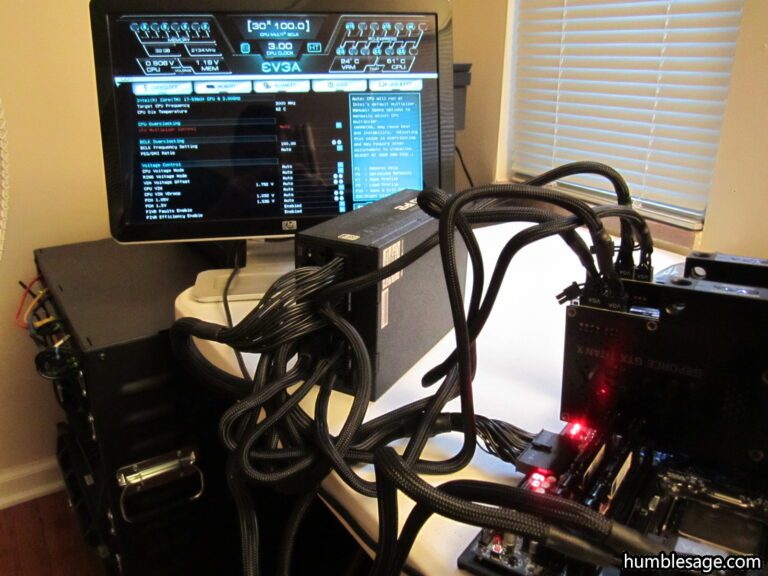
Post testing without cooling isn’t recommended. I’ve never had a problem with it but I won’t recommend it. If you do post test without cooling be sure to power off as soon as your BIOS loads and you can confirm your working components. One of the great things about the EVGA motherboard is that there is a power switch on-board which makes things much easier.
Moment of truth… SUCCESS! 🙂
Now that we know everything works we can begin building everything into the case and start planning the liquid (water) cooling aspects of my setup. 🙂